To create a new instrument select Create Instrument from the Instruments menu.
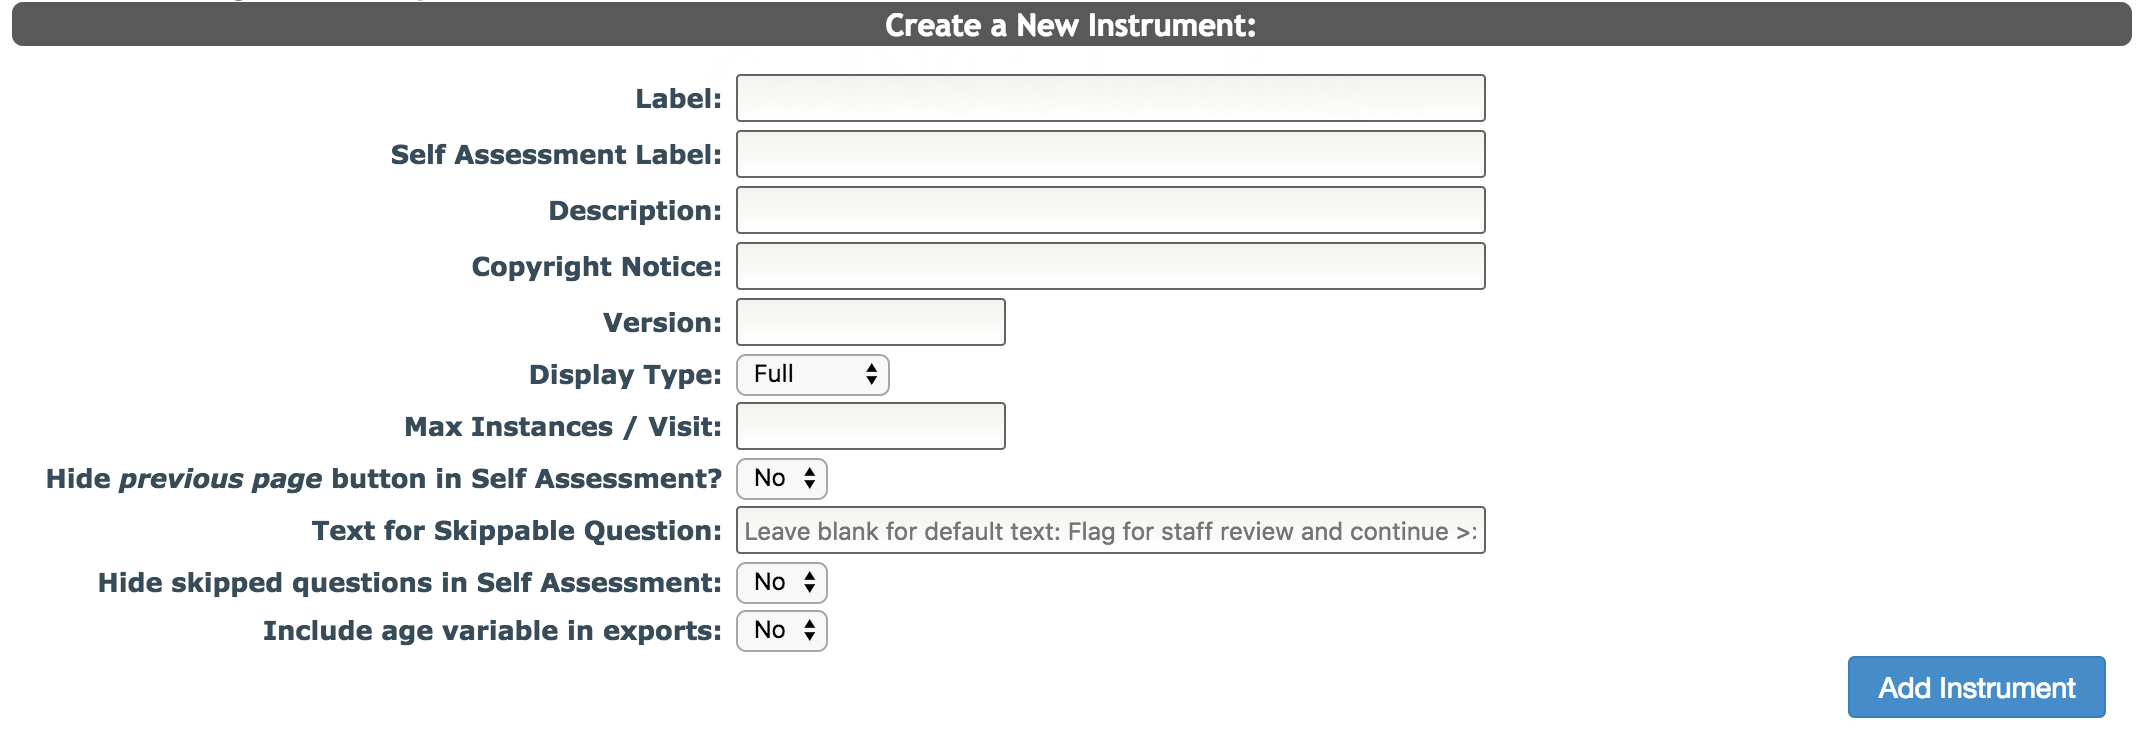
Complete the following information to add the instrument.
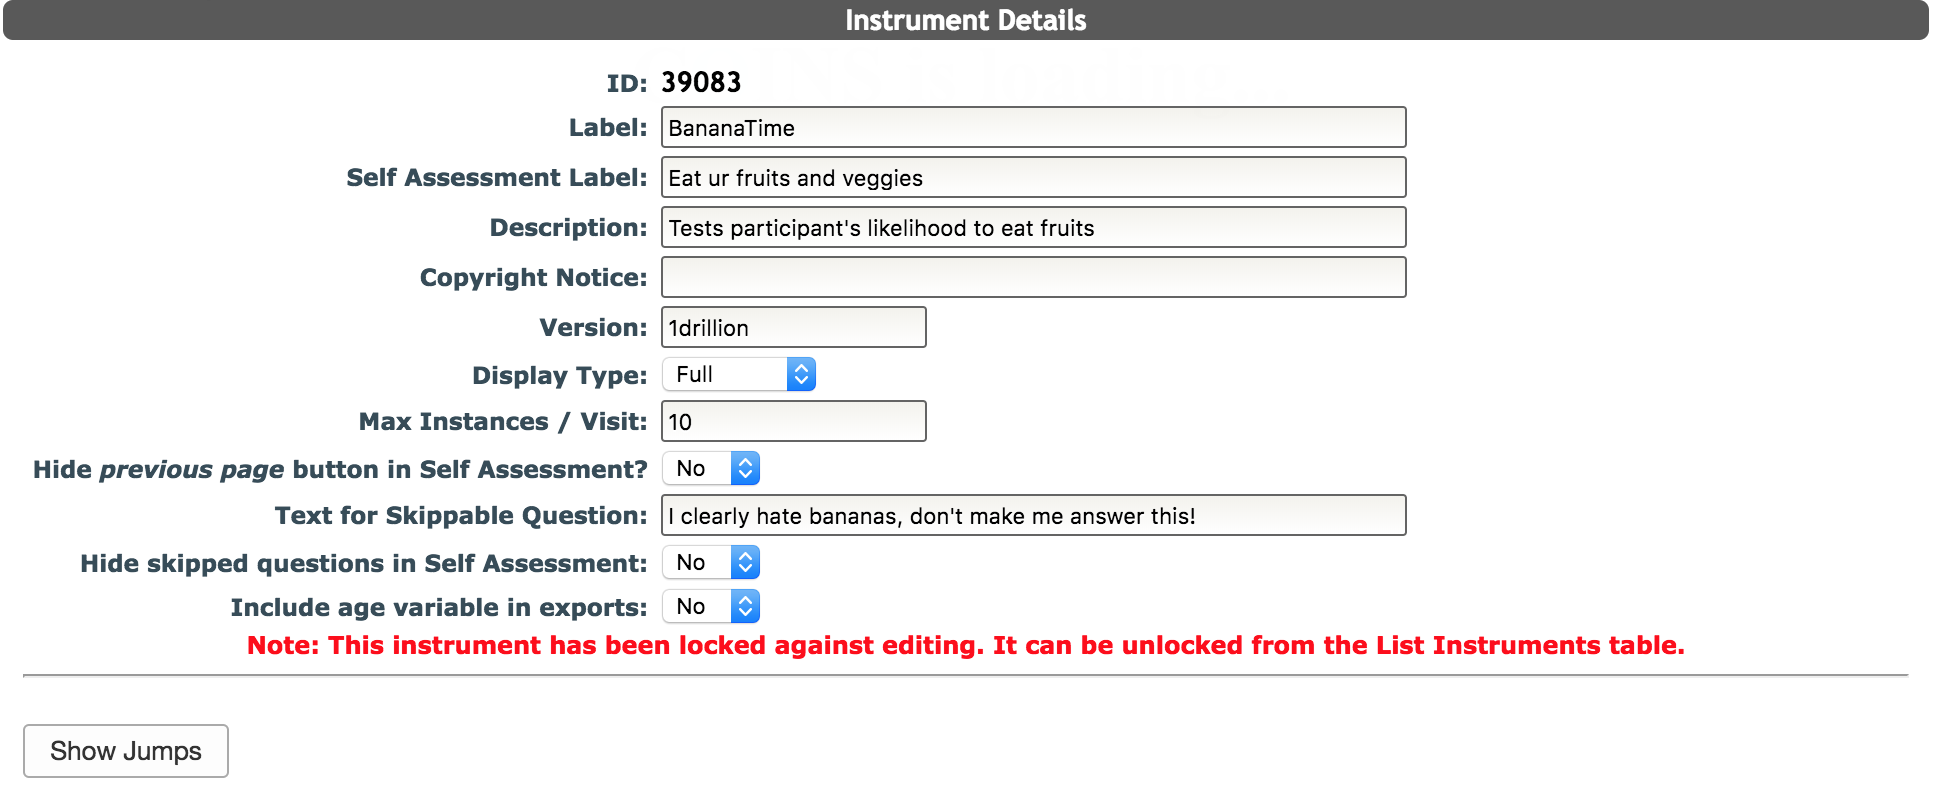
- Label (required) - this is the name of your instrument. The most affective names are short and easily recognizable. Acronyms can be used, for example, SCID.
- Self Assessment Label - if you are using this instrument for self assessment you can create a subject friendly label that can be different from the actual name of the measure.
- Description - here you can describe the label you just created. For example, Structured Clinical Interview for the DSM Disorders.
- Copyright Notice - if the instrument has a copyright, information can be listed here.
- Version (required - 12 character max): insert the version of the instrument here.
- Display Type - you have the option of Full and Calendar. If your instrument will not be displayed as a calendar use full. Note: The first question for calendar assessments must be a text field for date.
- Max Instances/Visit (required) - this is the number of times the instrument is administered per study visit. For example, if you administer the Alcohol Urge questionnaire twice at Baseline you will put a 2 here. Click here for more information about exceeding max instances.
- Hide previous page button in Self Assessment? - Choose whether or not participants can go back to the previous page while in Self Assessment.
- Text for Skippable Question - leave blank to use default text "Flag for staff review and continue" or add your own text.
- Hide skipped questions in Self Assessment - if yes selected, questions set up to be skipped will disappear if the condition is not met.
- Include age variable in exports- if yes selected, the participants' age at the time the assessment was completed will be included in exports in ASMT and Data Exchange.
After you have filled out all of the fields click Add Instrument.
To edit the instrument properties, make changes and click Update Properties. Now that you have created an instrument, you can add sections and questions. When you create a new instrument, ASMT will automatically create one section for you to add questions into. You can edit the details of this section or add new sections by clicking Add/Manage Sections.
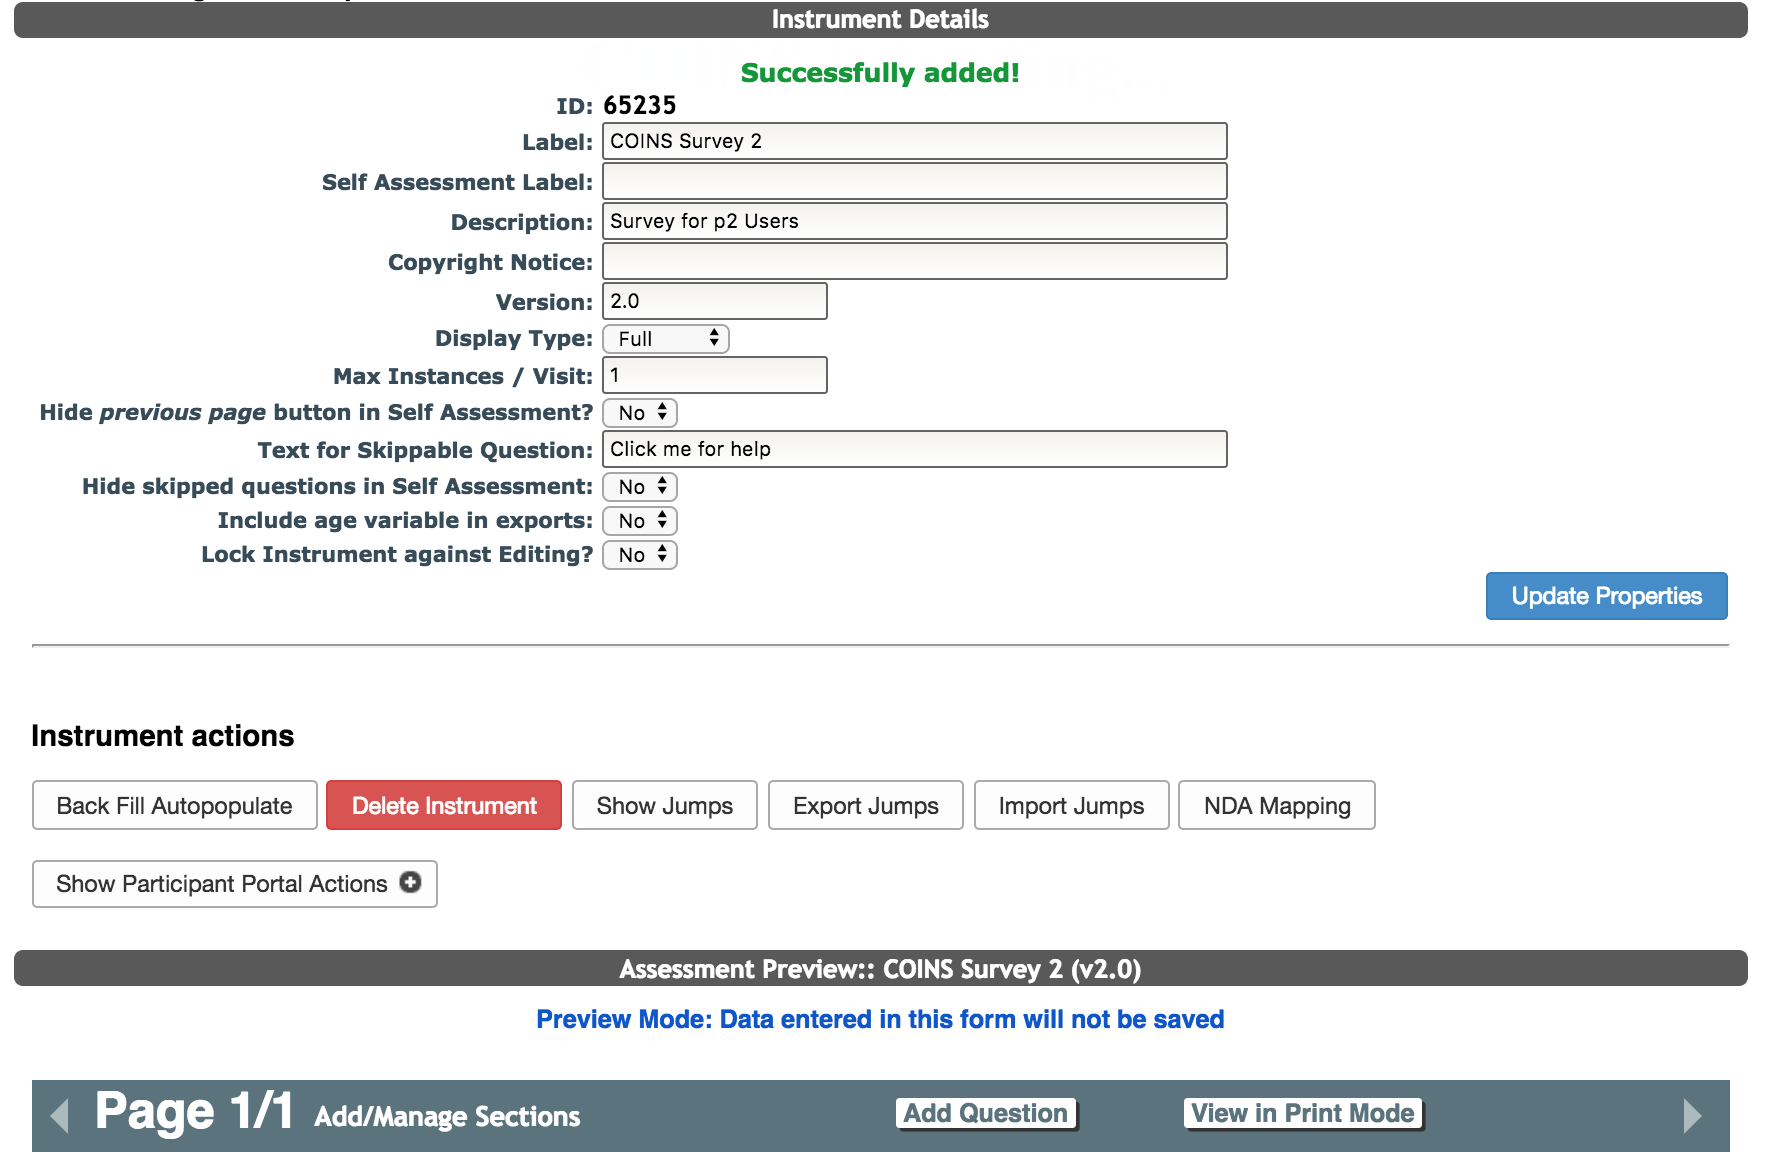
From the edit instrument view you can also use the following buttons:
- Lock Instrument against Editing? - select Yes if you want to only allow the PI and Coordinators to have instrument editing ability
- Back Fill Autopopulate- use this button to auto backfill all auto-populated questions in the instrument.
- Delete Instrument- you can delete an instrument from COINS using this button. This will remove all of the sections and questions (making the question ID prefix available again). Note: you can only delete instruments that do not have associated assessment data.
- Show Jumps - Show a schematic of the jumps associated with the instrument and any autopopulated fields that are included the jumps. Click here to learn more.
- Export Jumps - Allows you to export all the jumps in the instrument as a csv
- Import Jumps - Allows you to import jumps into the instrument from a csv
- NDA mapping - if the study is an NDA study, this will allow you to map the COINS instrument questions to NDA instrument questions
- Participant Portal Actions - click Show Participant Portal Actions to expand p2 options.
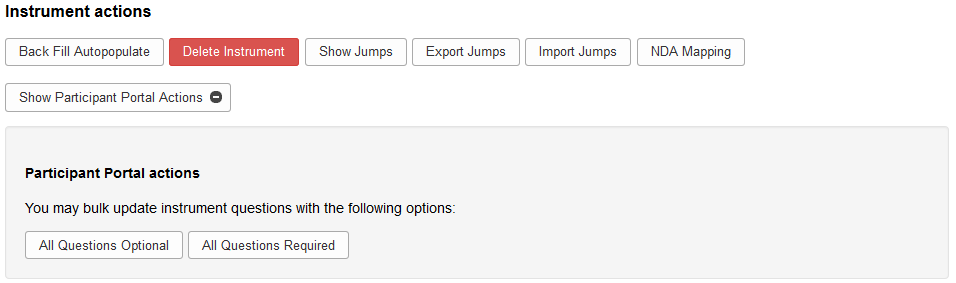
- All Questions Optional: makes all questions in the instrument optional for participants when entering in self assessment, by allowing them to click Flag for Staff Review and Continue to skip the question. Note: For Table Style sections, if All Optional is selected for the instrument, any cell in the table can be skipped without having to click Flag for Staff Review and Continue, as you have to with other sections types.
- All Questions Required - makes all questions in the instrument required for participants when entering in self assessment. Note: This option works differently with Table Style sections. If All Required is chosen, every table cell must be answered, as is true for all sections.
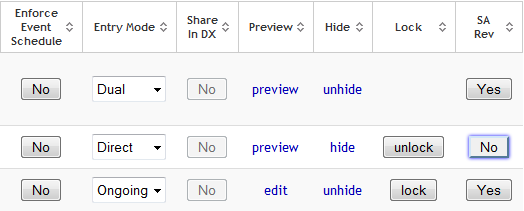
Instruments can also be shared. Shared instruments can only be edited by the owner of the instrument. If you use a shared instrument and the owner edits the instrument, the change will affect all users of the instrument. To find out which study owns an instrument that is shared with your study, click Preview from the List Instruments page. This will take you to the instrument details page which will note the owner of the study at the bottom in red. Additionally, the user listed under shared instrument notifications for the study will be notified via email about the change. The Show Jumps button is still available to the shared study. If the study is a mapping study, mapping will still be available in case the owning study is not a mapping study and cannot map the instrument. If mapping is on an instrument level, not a study level, so all mapping is automatically applied to all studies.
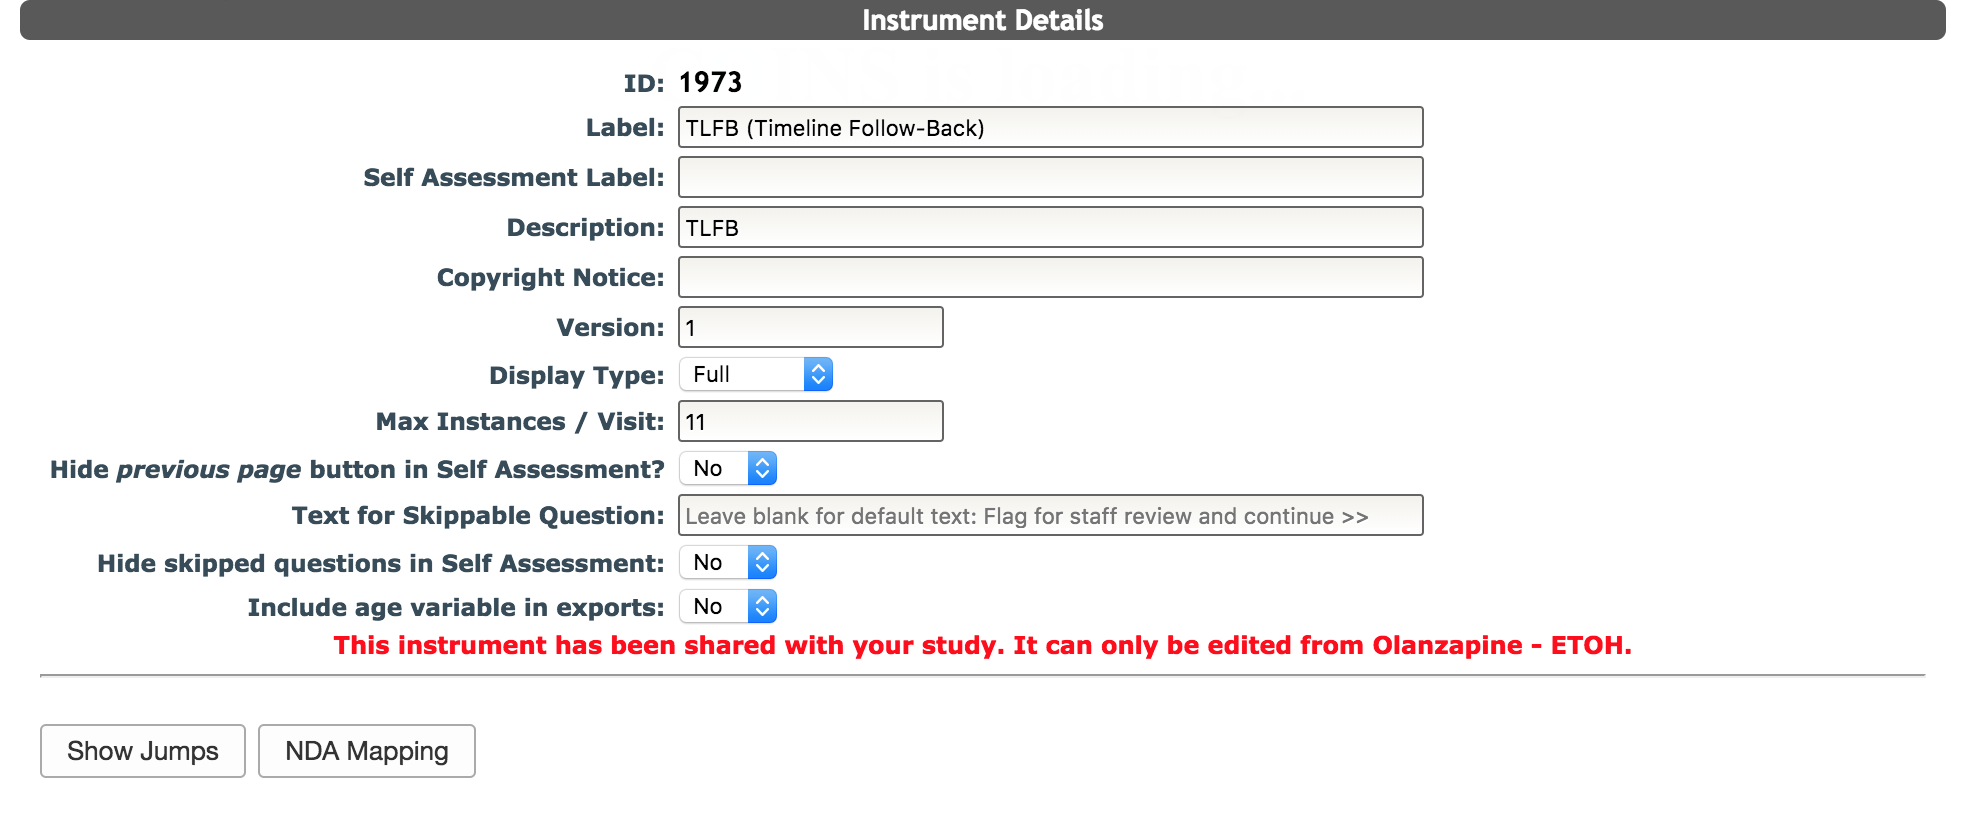
If an instrument is locked from editing, jumps can still be seen, but no updating can occur. NDA mapping will also not be available.
The instrument can be unlocked by a PI permission level or higher from the List Instruments page.
Comments