The Import Assessments tool is template based, generated specifically for each instrument. This allows users to import assessments through CSV file. Assessments can then be uploaded as dual records (1 and 2 records) for double entry, as a complete record, or as provisional assessments (set on List Instruments page). To access this tool, click Import Assessments from the Admin menu.
CSV Template Download
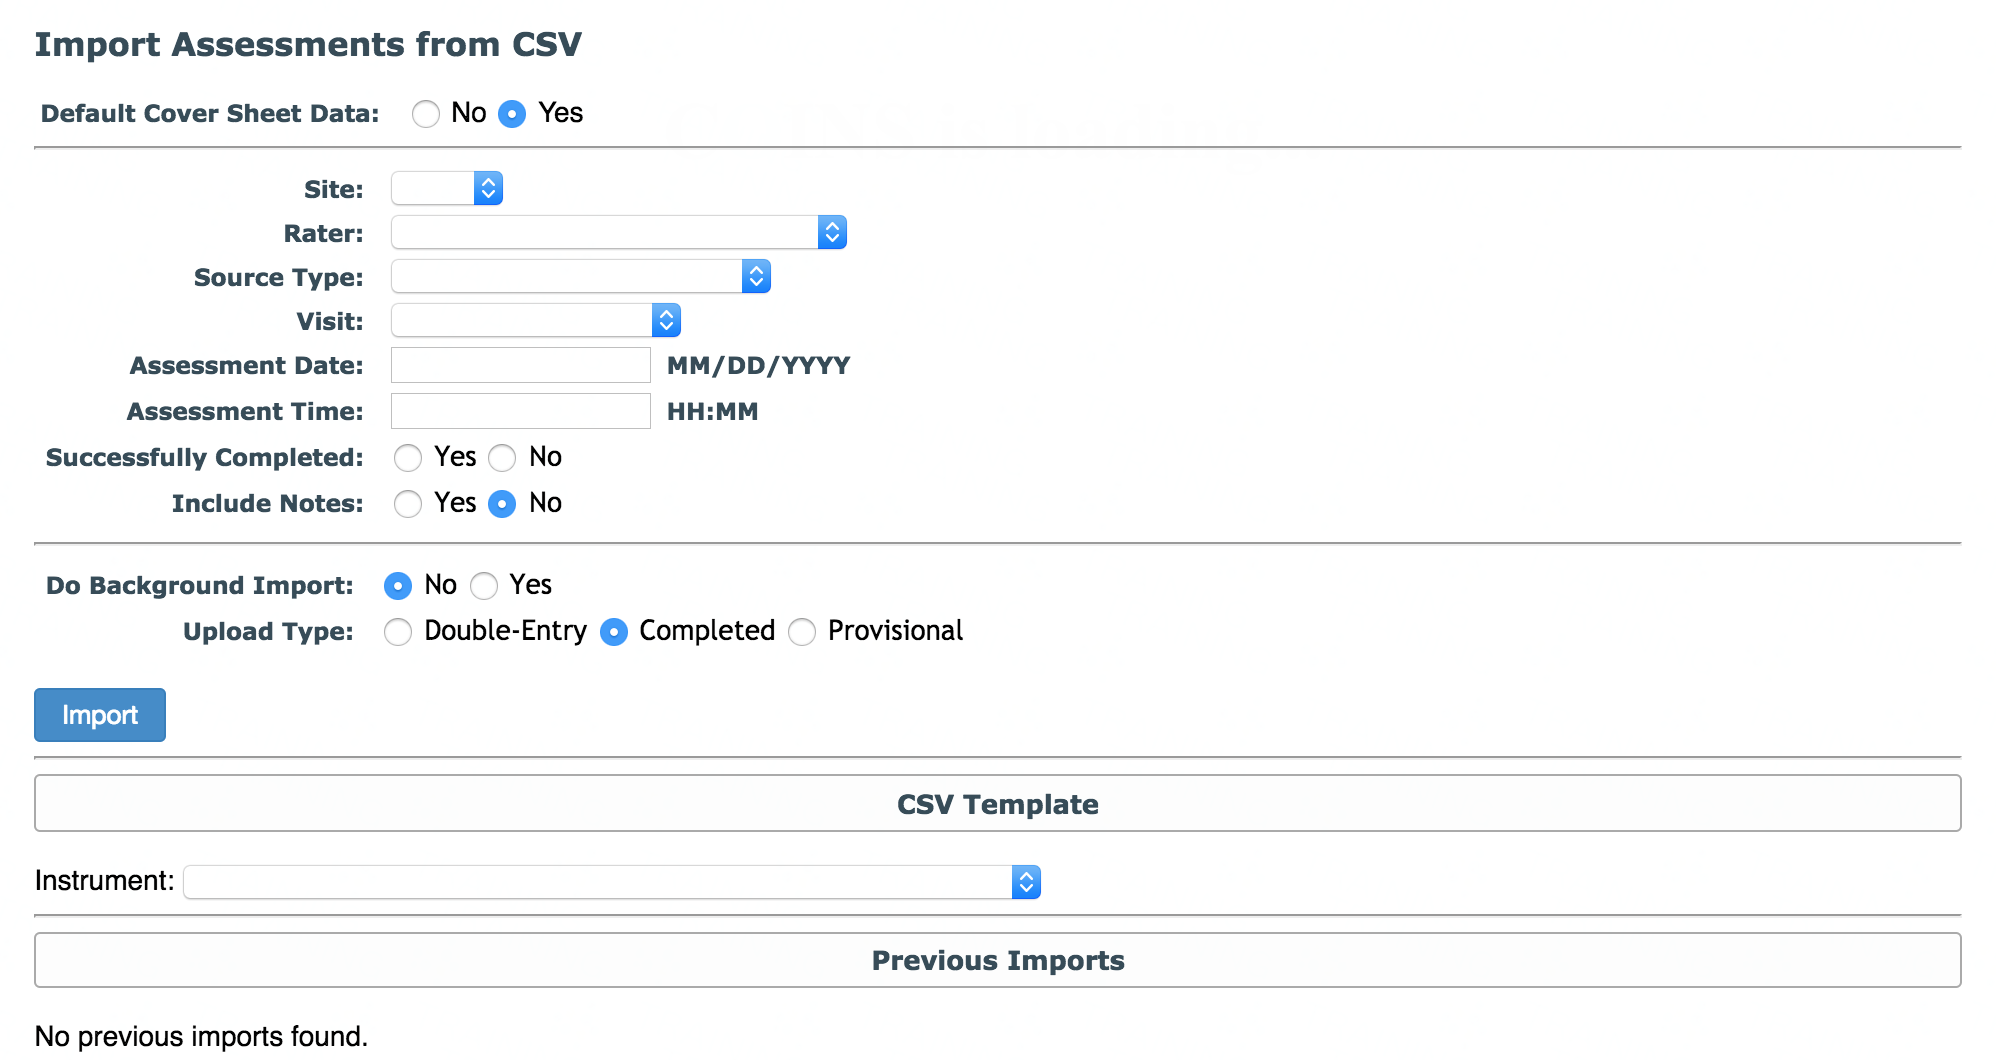
Prior to importing assessments, you can first download the import template or request the template from the COINS team if you do not have access to this tool. Before downloading the template, you must select Yes or No next to Default Cover Sheet Data. If you select No, the csv template will have columns for all of the cover sheet data for you to fill in manually.

If you select Yes, you will be asked to select the cover sheet data that will be applied to all of the assessments in the uploaded file, and the csv template will contain URSI and question IDs only. Note: If you select Yes to Include Notes, a text box will appear for you to enter notes that will be applied to all assessments in the import. There will not be a Note column in the template. If you select No, there will be a separate Notes column included in the template.


Once you have made your cover sheet selection, select the Instrument from the drop down box under the heading CSV Template. All of the instruments for your study will be listed. Clicking on an instrument will automatically download the csv template.
Import Template
The key to successfully importing assessments is correctly filling out the import template. The exported template from COINS will give you examples and reference text as a guide. Carefully complete the template and when done, save the template as a CSV, as this is the only format that is accepted upon upload.

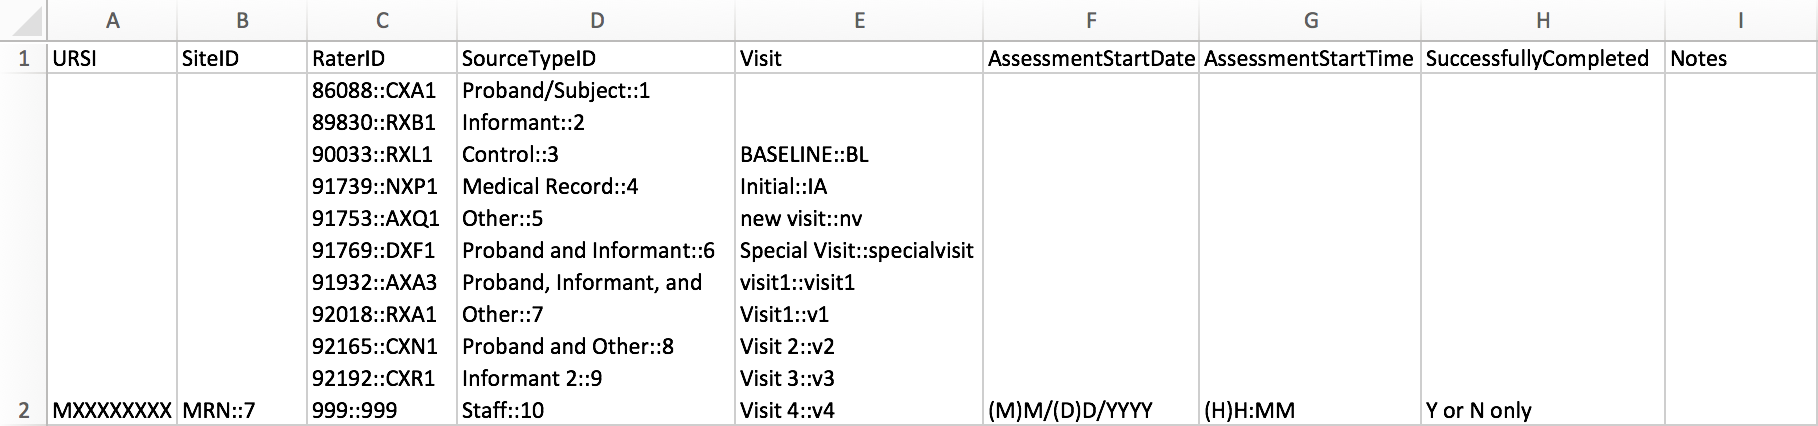
Complete the following information about the assessment. Each assessment should be on its own row and all information for the assessment should be on the same row. All the fields listed below are required. If you are uploading assessments that as dual entry, the data in columns A – H must match for entry import 1 and 2 to make a C or F record.
- URSI – Participant’s URSI for assessment you are a importing
- Site ID – The ID for the site (numerical) the data was collected at. Please contact the COINS team if you do not know your site ID, but the site ID(s) available for your study will be listed in the import template (e.g. in the example given, site ID would be 7).
- Rater ID – The ID of the rater who collected the assessment, which can be found in the raters list. The rater ID needs to be added to your study in ASMT before the import. All available raters will be listed in template.
Complete the following information about the assessment. Each assessment should be on its own row and all information for the assessment should be on the same row. All the fields listed below are required.
- Source Type ID – the source type for the assessment (numerical). Please refer to the list below for the number that corresponds to each source type.
- 1 - Proband/Subject
- 2 - Informant
- 3 - Control
- 4 - Medical Record
- 5 - Other
- 6 - Proband and Informant
- 7 - Proband, Informant and Other
- 8 - Proband and Other
- 9 - Informant 2
- 10 - Staff
- Visit - Enter valid visit information for each row
- Assessment Start Date – the date the assessment was started in MM/DD/YYYY format
- Assessment Start Time – the time the assessment was started in HH:MM format
- Successfully Completed – was the assessment successfully completed Y or N only
- Notes – any notes for the assessment

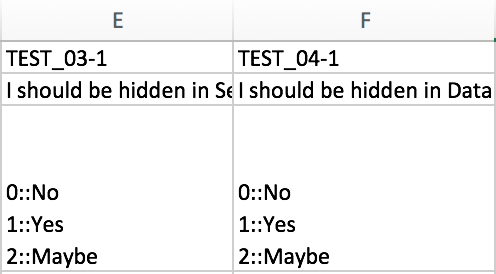
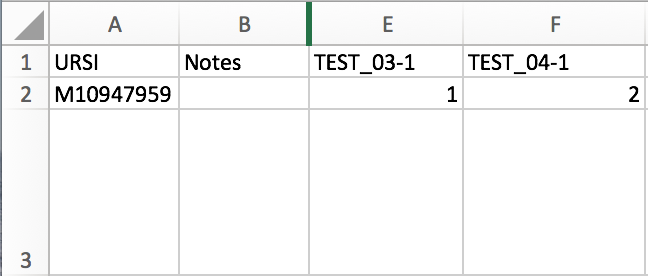
Now you can add the assessment data to the template. The template will list the question ID and instance in row 1, the label associated with that question will be in row 2, and the question input type and options in row 3. The question label and input type (row 2 and row 3) must be removed prior to import. Do not remove the question IDs in the first row. Carefully input the data corresponding to each question ID/label in the same column. In the example above, if the option for COINSQ_002-1 was 3 - Average Computer Experience, you would enter 3 in row 2 under the question ID.
Note: You can also import Missing Data and Don't Know responses. Enter MD for Missing Data and DK for Don't Know.
Importing Assessments


Once you have filled out the import template, save it as a csv file to prepare for import. To import the template, return to Import Assessments from the Admin menu. Make the following selections before beginning import:
- Default Cover Sheet Data - this should already be set to Yes or No based on the template you downloaded, but make sure the selection matches the template.
- Do Background Import - select Yes if you are importing a large amount of data. The import will continue in the background and you can navigate away from the page to continue working on other tasks. When the import is complete, it will appear in the previous import list. You will also receive a notification email with import results and a csv file with errors (if any).


- Upload Type - select Double-Entry if the assessment will be dual entered, Completed if no dual entry is required, or Provisional (for more information on this, see the List Instruments article).
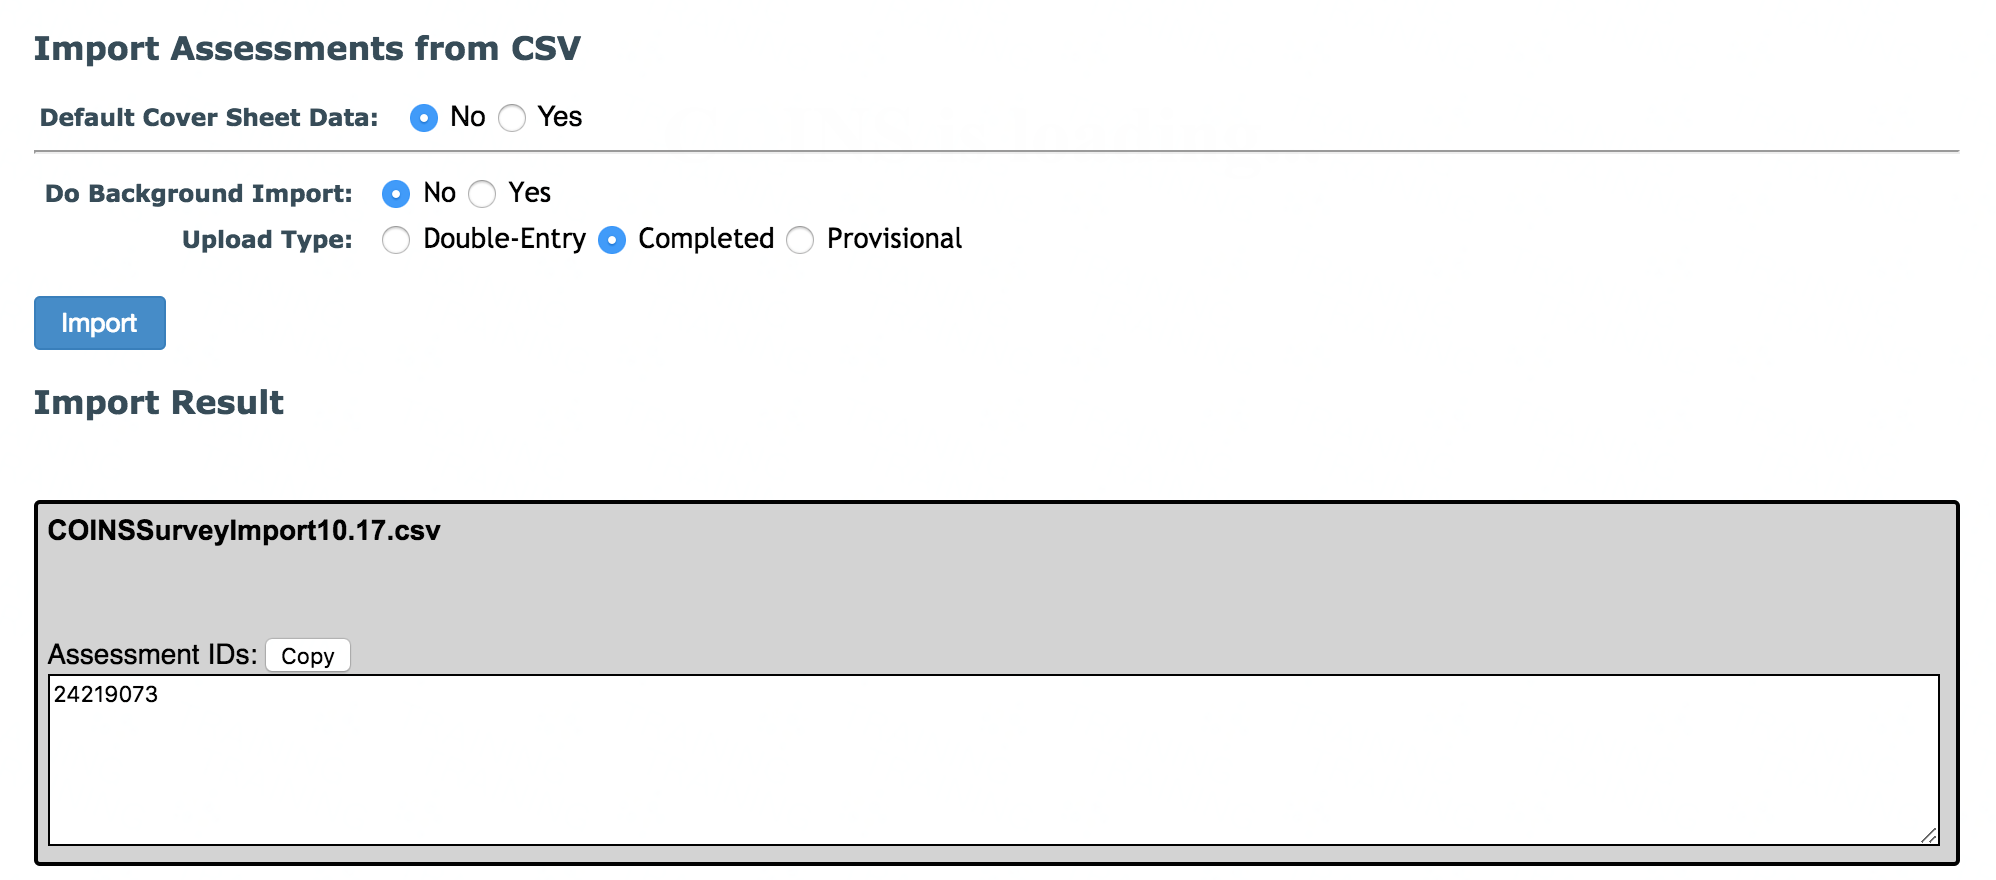
Then click Import. Select the file to import. If the import is successful, assessment IDs for each assessment imported will be displayed.
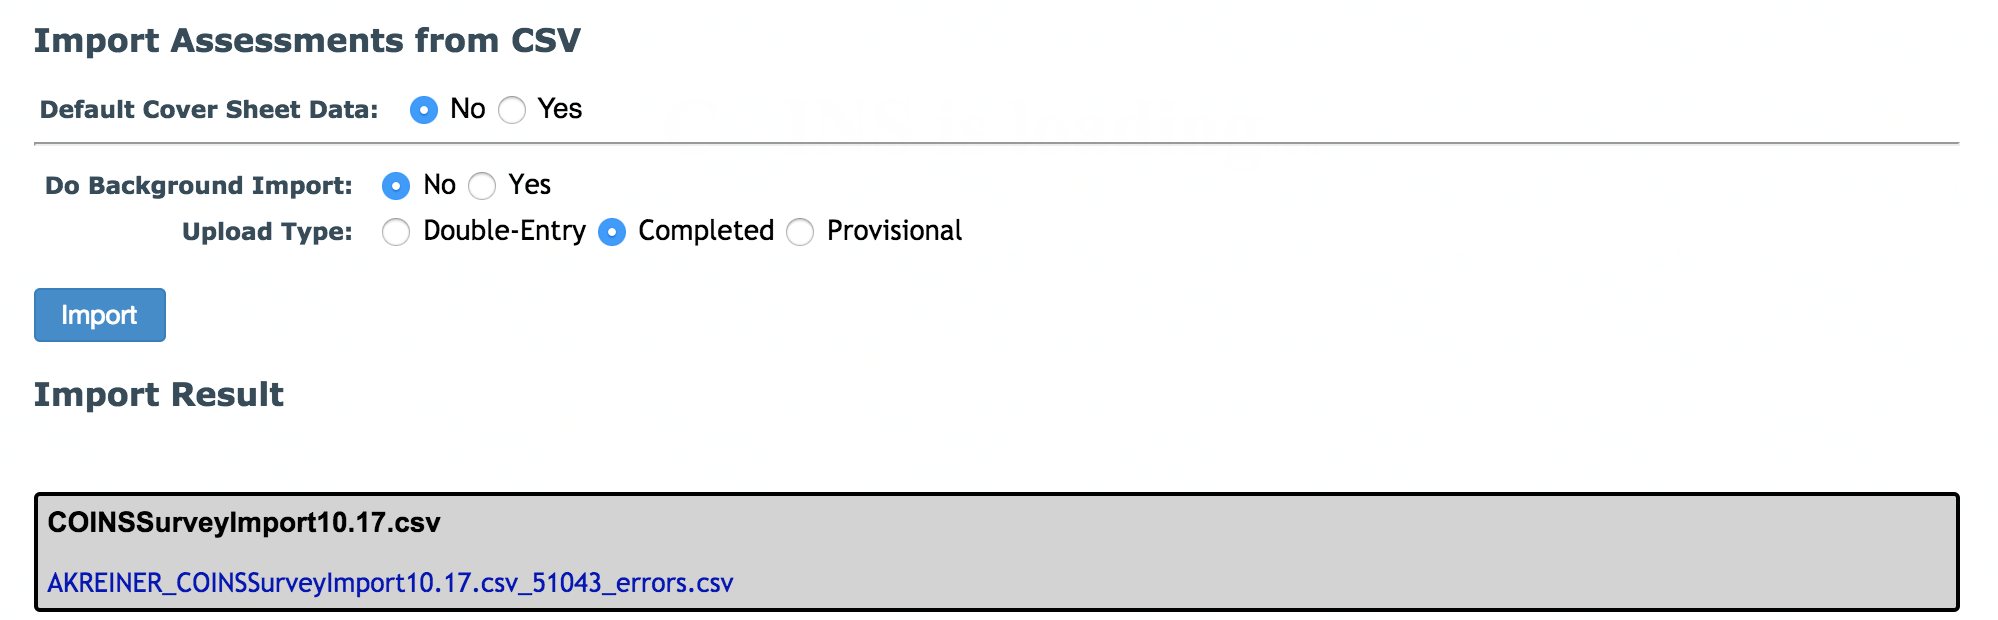
If the import was not successful, you will be provided with a new csv with the assessments that could not be imported due to errors. In the csv, the errors will be listed next to each assessment.

If the instrument you are importing assessments for is set to be provisional entry, you will only be able to import the assessments as provisional. Once the template is imported, if any matches for imported assessments are found, the results will be displayed. These resulting assessments will be replaced with the imported assessments. These assessments will no longer be available.
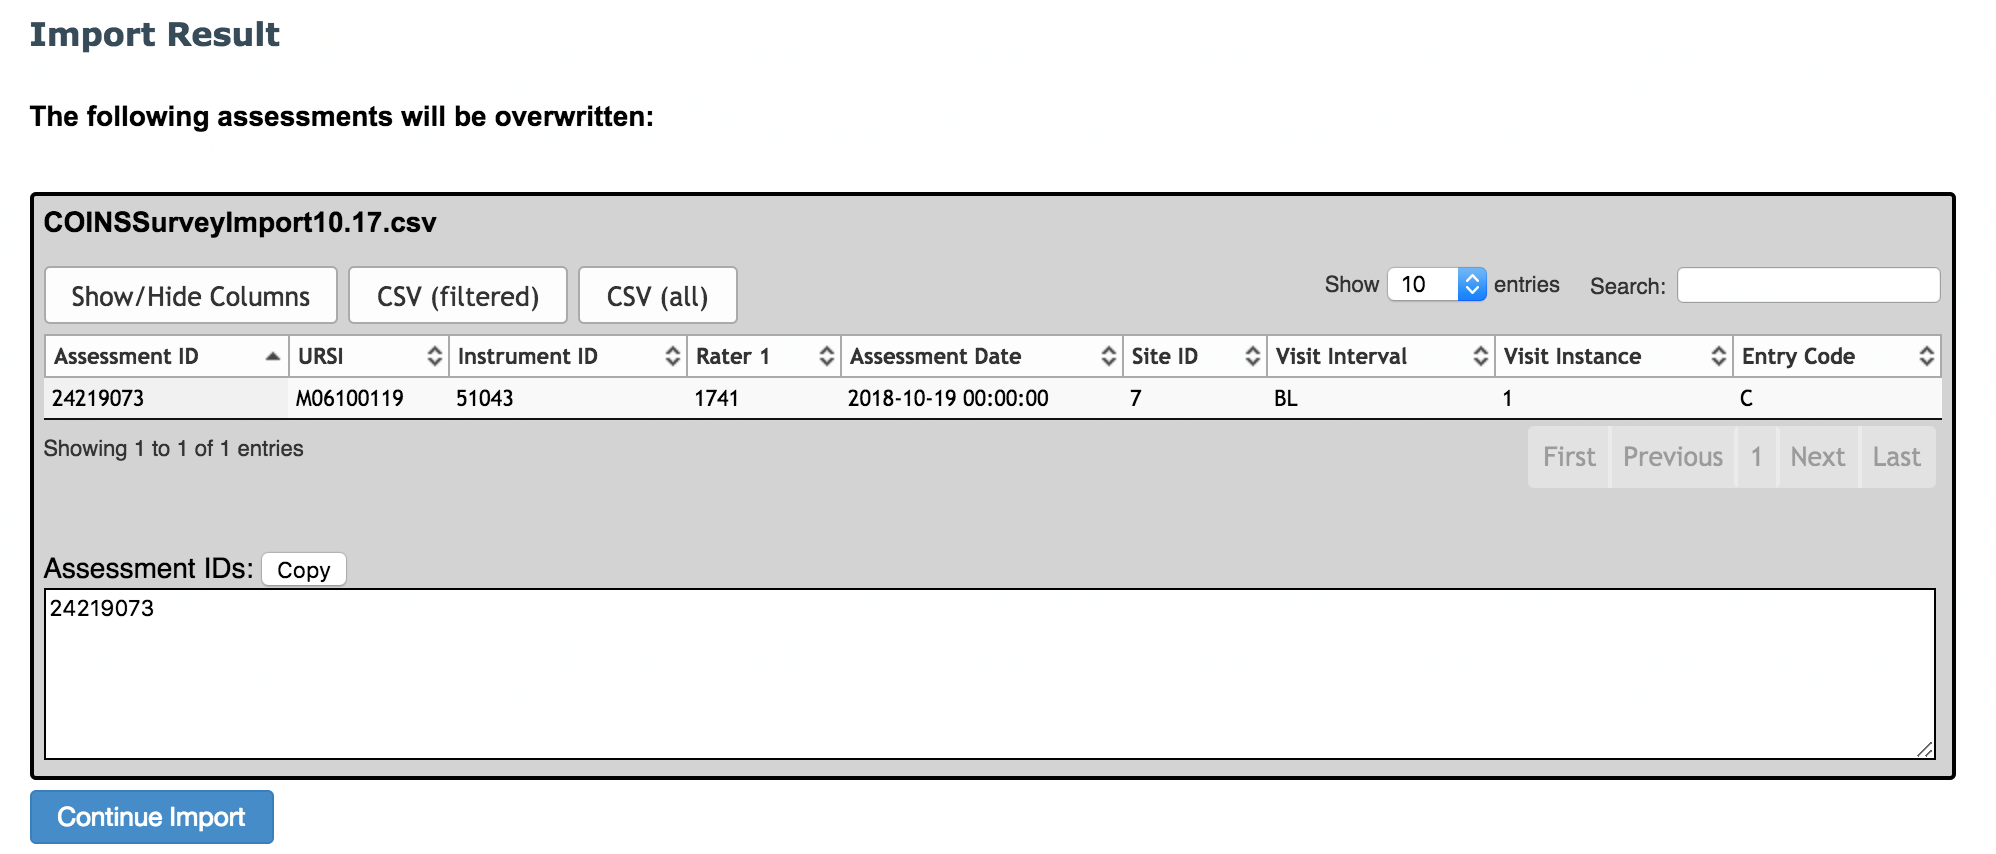
After reviewing which assessments will be replaced, click Continue Import to overwrite their responses with the assessments in the import template. You will be shown the new assessment ID(s) upon completion. If assessments in the template have no matches, they will be directly imported.
Importing Multiple Choice Data
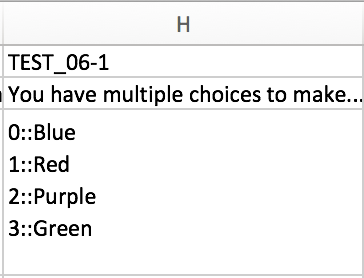
Instruments with multiple choice questions can also be imported. The multiple choice questions in the template will look similar to the example below.
Below the question ID, you will enter the numeric value for the choice you would like to make.
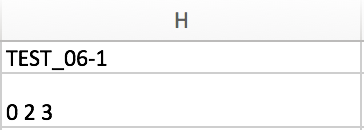
Importing Multiple Choice Data with Multiple Responses
Some multiple choice questions allow participants to choose more than one response. In that case, you would list the choices made, separated by a space only.
Importing Specify Detail Data
The specify detail question will look similar to the example below.
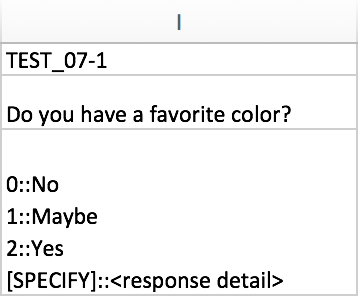
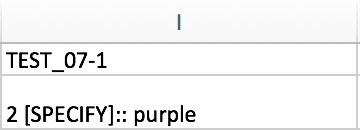
If the specify response option is selected (2::Yes), you will need to format the response like the example shows, Response Value [SPECIFY]:: Response Detail.
Importing DSM Data
If you are importing a DSM question, you will need to format it as follows:
#DESC:<response description> #CODE:<response code> #SPEC:<response specify>
See the example below.

Comments