DICOM data not already stored in the COINS archive system can be imported using the DICOM import tool. This tool will organize the DICOM data into the MRN archive structure for storing in COINS. To only add a scan's metadata, use Add a Scan Session.
To import the DICOM data, click on Import DICOM Data from the Imaging menu. A list of scans that are waiting to be imported for studies you have access to will be displayed. Typically, this table will be empty until you select files to import.

To being in the import process, click Add a New Upload, to open the file browser. Accepted file types include zip, tgz, and tar.gz. After the file has been selected and added, you will be asked to refresh the page to see the new files. Once refreshed, the file will appear in the table with data (scan date and scanner station/type) pulled from the DICOM files.
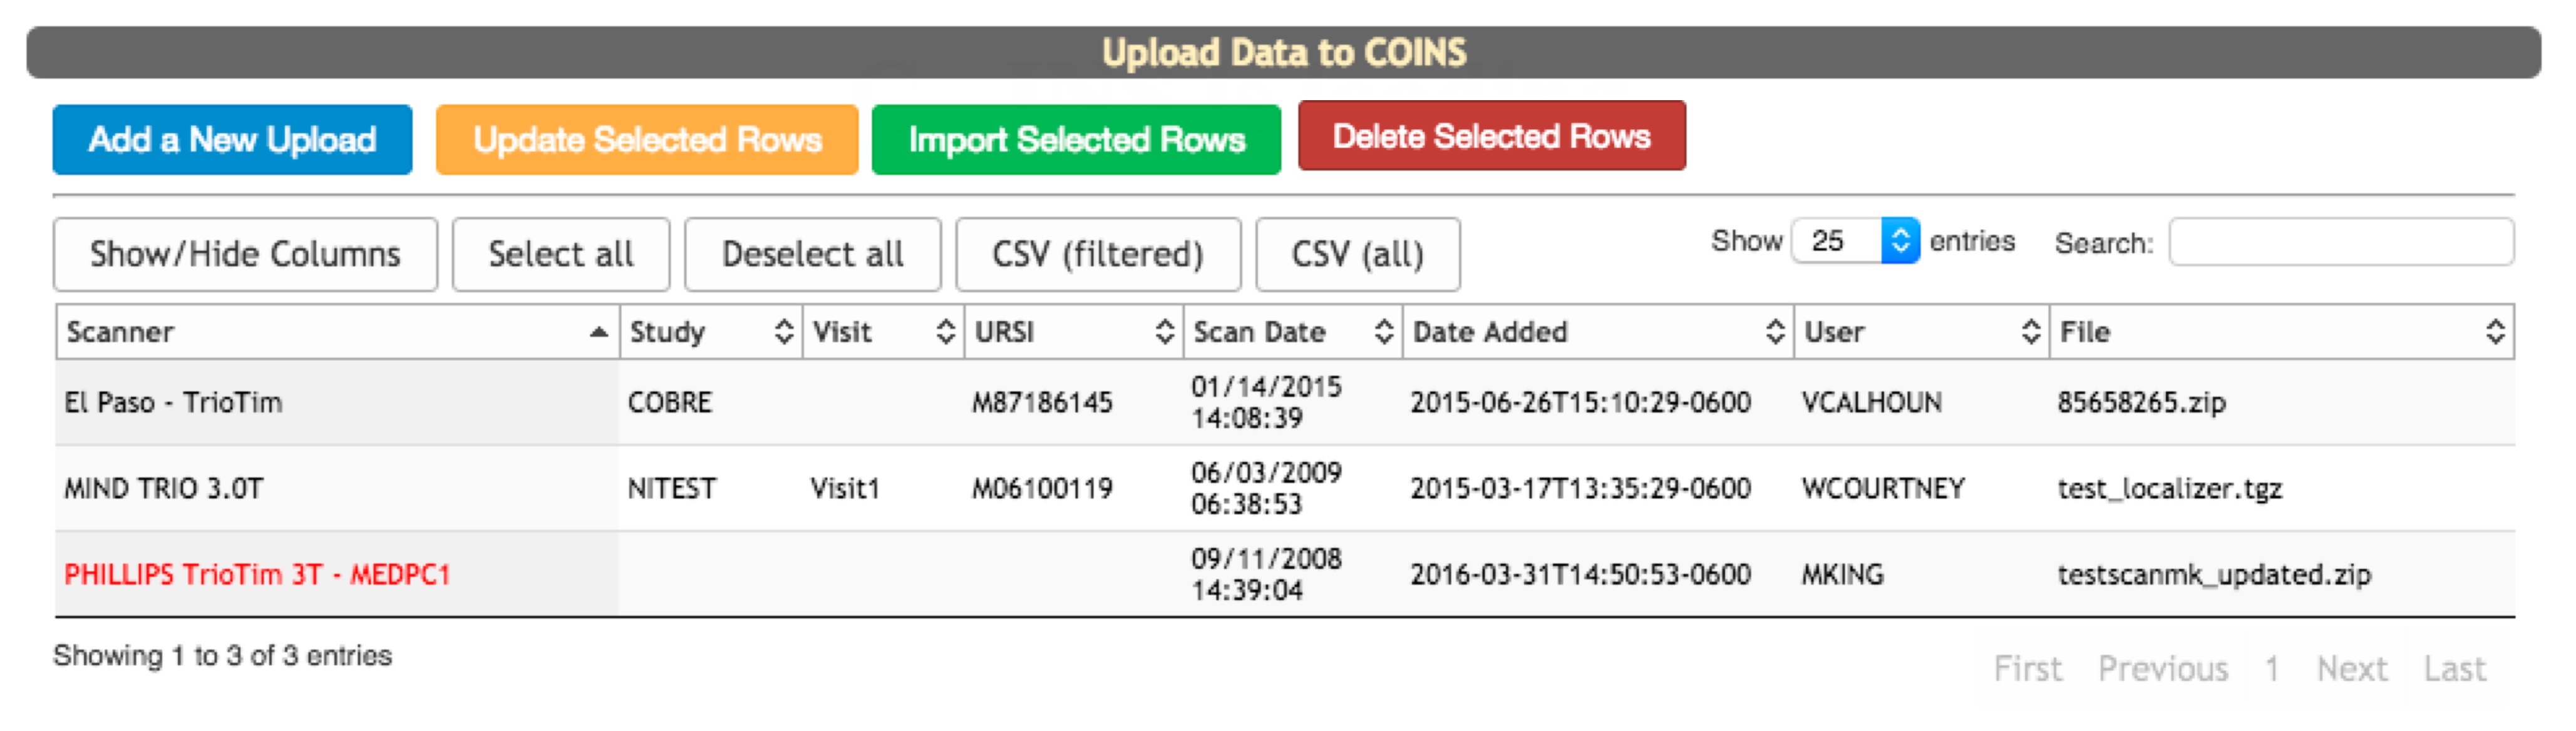
The DICOM import table has built-in features to help users customize and retrieve table information. Select a row(s) from the table by clicking on the row. Select all rows by clicking Select all or remove all selected rows by clicking Deselect all. Once desired scans have been selected, click Update Selected Rows to associate the scan with the URSI, Study, Visit and Scanner. Note: the scanner information will appear in red text if the scanner has not yet been entered into the database.
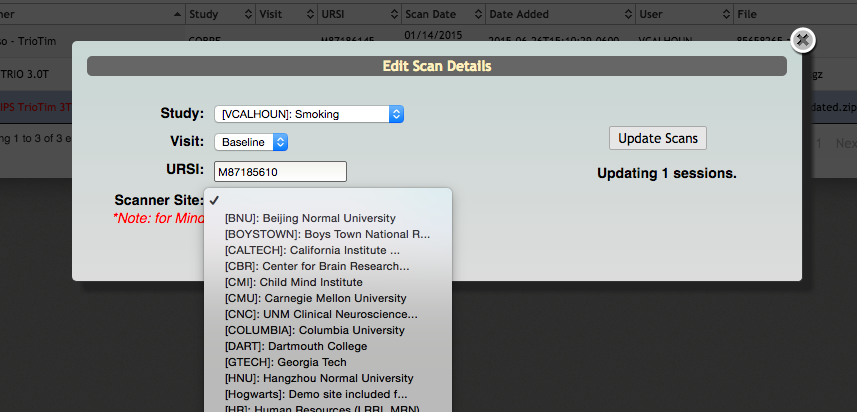
In the Edit Scan Details pop up enter the appropriate URSI, Study, Visit and Scanner. The studies that appear in the drop down will be those that you have coordinator or PI access to. If the scanner isn't currently in the database you will need to choose the site at which the scanner resides. After all fields have been completed click Update Scans.
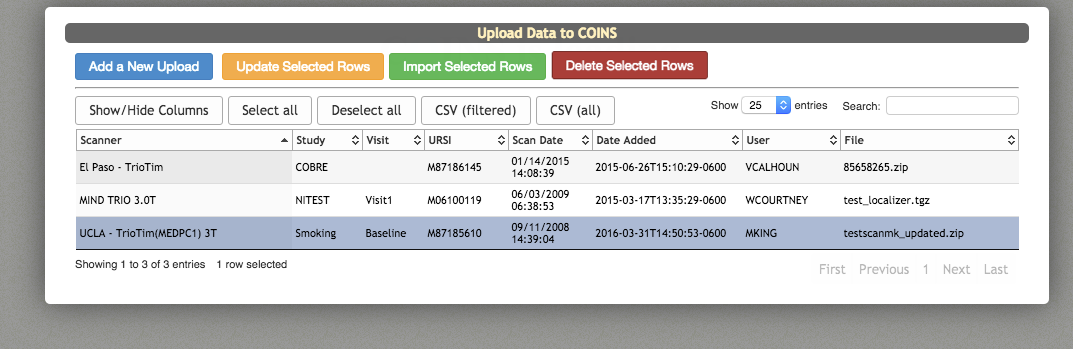
On the table you will see that the rows that you selected have been updated. Also, if you selected a site for a new scanner, all other rows with that scanner will have been appropriately updated so that you don't have to update them individually.
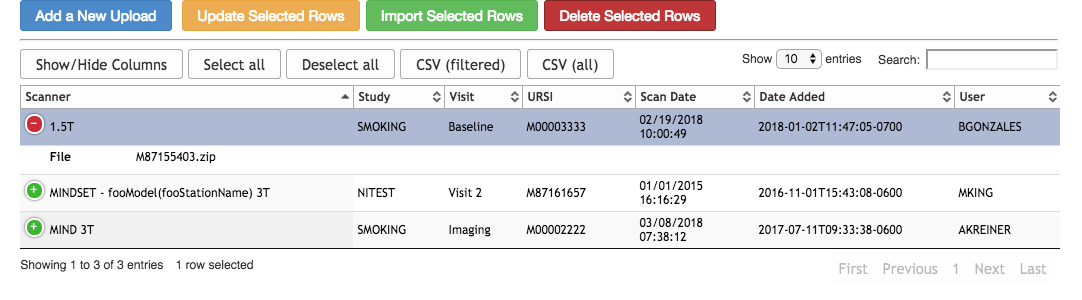
When ready, select all rows that you wish to add COINS and click Import Selected Rows.
Success! You can use the List Scans tool to view the scans.
If you need to delete a scan from this table, select the row(s) from the table by clicking on the row. Once desired scans have been selected, click Delete Selected Rows.
Comments