To look at the data available in Data Exchange, click Browse Available Data from the Data Exchange menu. If you need assistance with this page at any time, clicking Tutorials at the top left corner will redirect you to the main Data Exchange Zendesk Helpdesk page.

From here you can use the MR (magnetic resonance), Assessments, Studies, and Subjects data filters to sort through the data. Use the filters by dropping and dragging them into the request workspace. Once the filter is dropped into the request workspace, you will be asked to define the filter attributes.
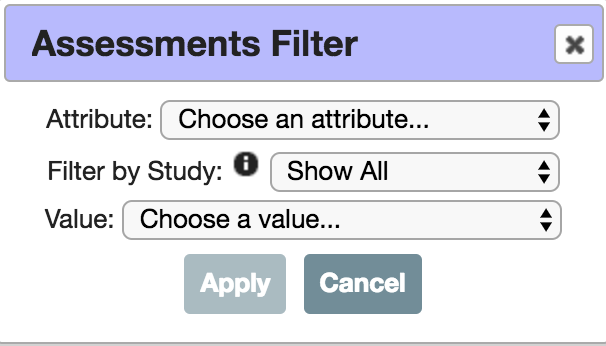

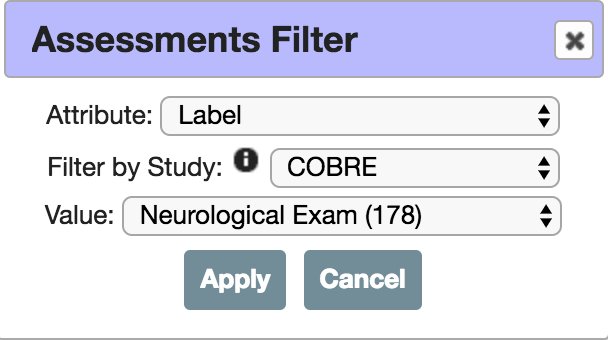
Click the drop down next to Attribute to select which attribute you would like to filter by within that data filter (e.g. Label, Visit. Subject Type). You can also Filter by Study within all of the data filters. Filtering by study will display only values that are available for the selected study. If you do not filter by study, all options will be displayed. Each value option will have the number of data items available for that filter listed in parentheses.
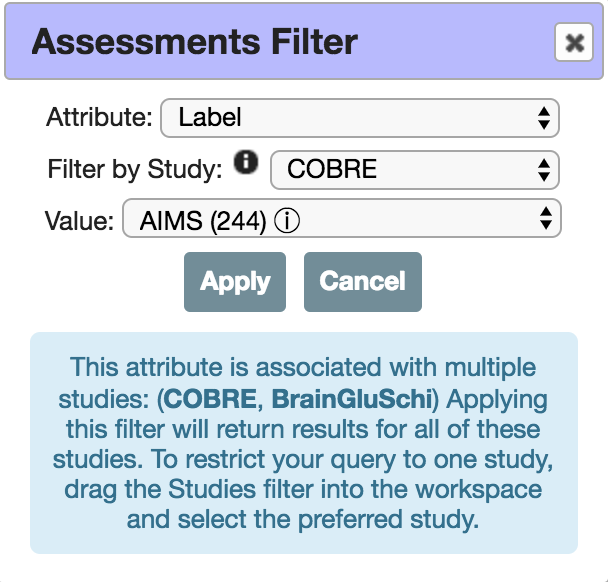
Some attribute values may be found in multiple studies. Filtering by a study will only affect the values displayed in the selectable options. The filter will return results for any study for which the attribute is available. You can utilize the Studies filter to restrict your query to one study.
Click Apply to add the filter to your query.
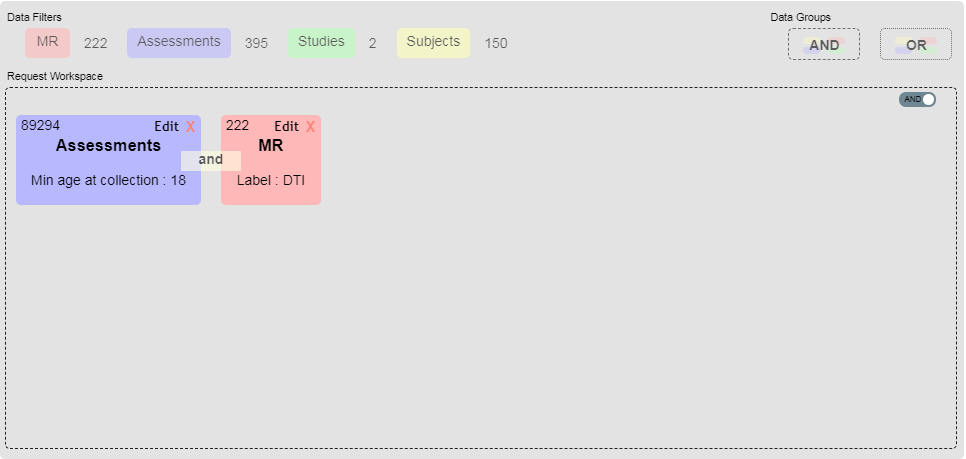
Continue to add filters by dropping and dragging. Filters are automatically set to be and filters. Click the switch at the top right corner of the Request Workspace to change the default to or filtering. As filters are added, the totals of MR, Assessments, Studies and Subjects that match the criteria will be displayed next to each data type. Each filter will also have the number of data items that match it. In the image below, there are 89,294 assessments available for the minimum age at collection of 18 and 395 assessments for this minimum age that have a DTI MRI sequence. Ages in Data Exchange are rounded down to the next whole integer (ex: 32 years and 4 months = 32 years old). Additionally, the age indicated in the min or max age filter is included in the query (ex: querying max age of 30 and min age of 30 will both include participants that are 30 years of age).
To remove filter options, click the X. To change filter attributes for a filter that has already been added to the Request Workspace, click Edit for that filter and choose the new attribute.
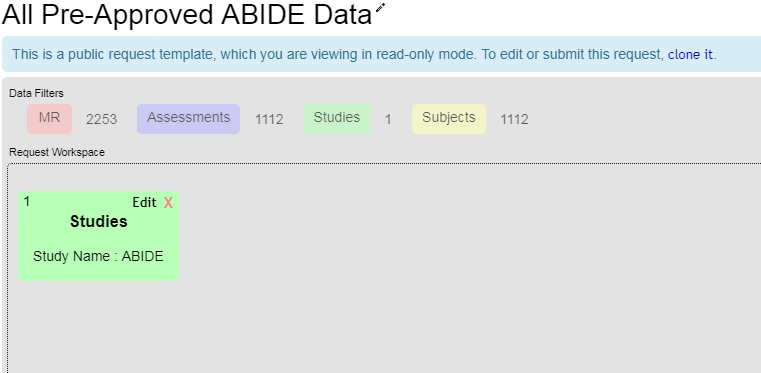
If you have a previous request you would like to load or if you want to access a public template, you can select it from the drop down menu and click Open. If you open a public template, you will have to click clone it to be able to send the request.
Click on the name of the query at any time to rename it. Once you have either created or loaded your filter options, click Submit Request to request the data from the owner of the data. To start a new request, click New Request.
After submitting your request, you will be shown a summary of the data being requested. Additionally, you will need to review and agree to the Data Usage Agreement, if applicable, and add a message as to how you will use the data.

Click Send when you have completed the form to submit the request. The request confirmation will be sent to the email attached to your COINS account. The email will include the confirmation number and how to access your request, which is done through the Data Requests and Downloads page. Any dialog from the data owner will also be emailed to the address on file as well as any notifications about the download status. Any messages can be accessed by going to the Data Requests and Downloads page and clicking on View Messages for the request.
Comments